Nail Tutorial: Birthday Nails
Hello! You missed me? I know I've stopped blogging for a while. I'm so so sorry guys. Life caught up with me. But hey I'm back! So no fret! 
So yesterday I turned 29.  My last year in the 20s. I decided to celebrate it with awesome birthday nails. And of course, I'm sharing the tutorial with you guys.
My last year in the 20s. I decided to celebrate it with awesome birthday nails. And of course, I'm sharing the tutorial with you guys.
1. Base Coat
- Apply base coat, it's very very important ok! Just do it!

2. Base Color
- I love the color blue, and you must love that color too ok?


3. Bling On
- You would want to get your bling on of course, just like the confetti.

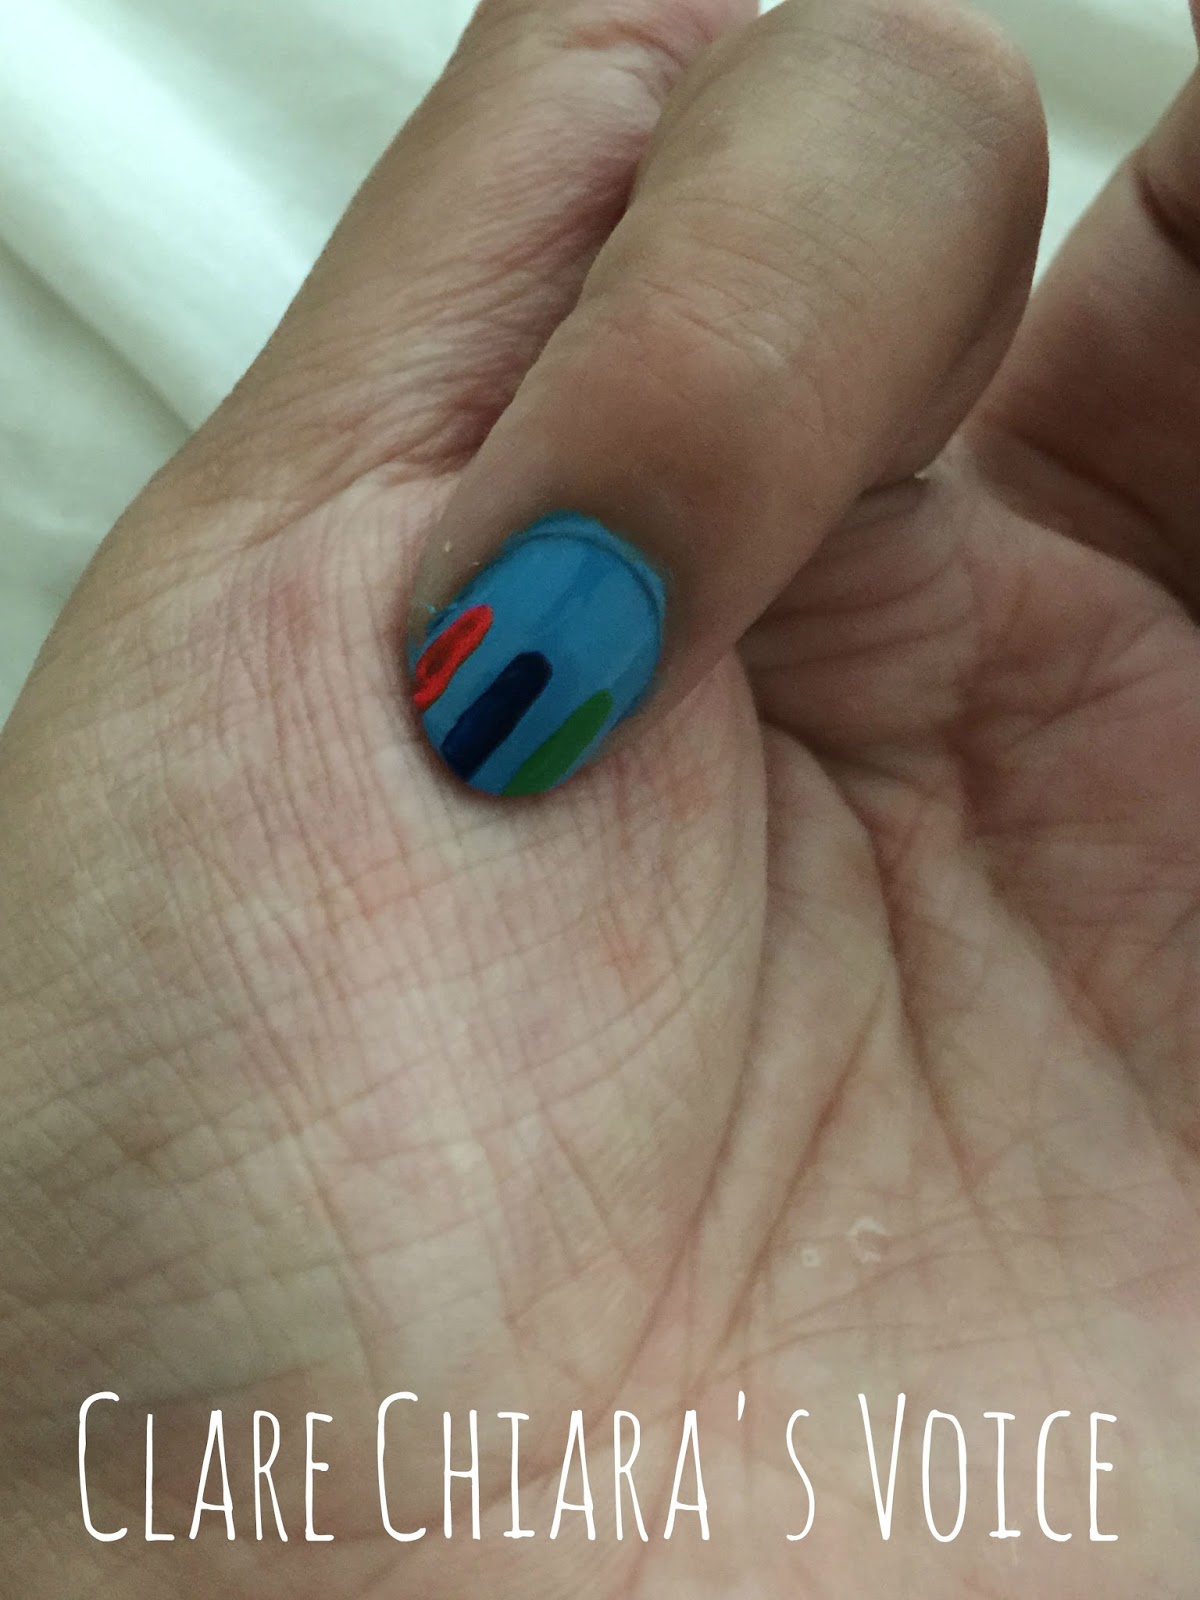
4. Candle Sticks
- Using 3 different acrylic colors, I painted on the sticks of the candles. It's really simple just draw 3 straight lines.
5. Tip of the Candle
- The time of the candle, before we blow it out.

6. Light up the Candle
- Using a yellow acrylic you want to light up the candles.

7. Stripes
- To make it look so much more like a candle you want to draw some stripes on the candle.

8. Cupcake Base
- On your next nails, you want to draw on the base of a cupcake in a rectangular shape.

9. Icing on the Cake
- Use a dotting tool and dot on some icing for the cupcake.

10. Decorations
- Like a cute cupcake you want to dot on some nice decorations.

11. Cherry
- Using a bigger dotting tool you want to dot the cherry on top of the cupcake.

12. Confetti
- On to the next finger you want to draw some confetti. I used a dark blue and yellow confetti.

13. Age
- Yup, my last year being 20s might as well come to terms with it right?


14. Top Coat
- And you are done!! Easy peasy!!

Have fun with your birthday nails!! Oh and Happy Birthday!


Comments