Nail Tutorial: Burberry Inspired
1st Nail Tutorial for this year!! Hooray!!
I've been wanting to do this nail art for the longest time, but needed time to practice my shaky hands.
1. Top Coat
- To keep your nails healthy looking. Please, apply the top coat. I cannot stress how important the Top Coat can be.
2. Base Color
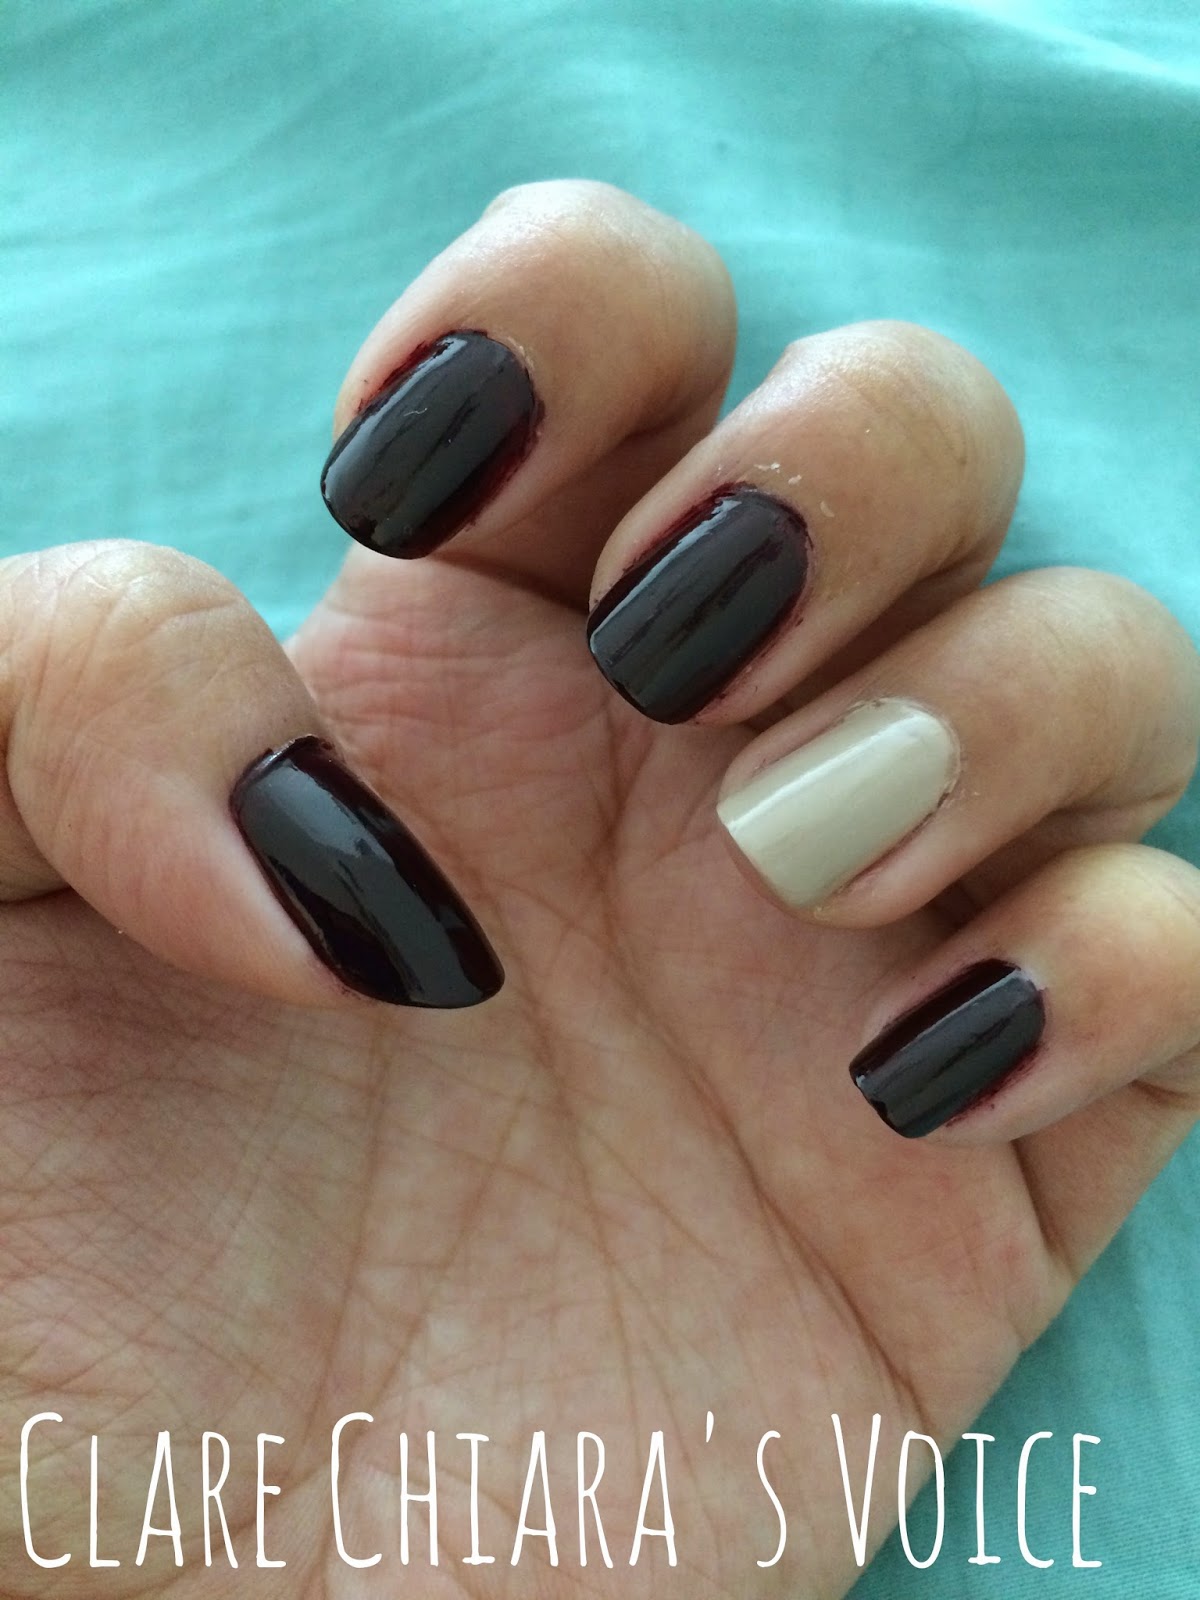
- Camera didn't do justice to the colour. It's a dark Burgundy colour on all 4 fingers, and a nude colour on the ring finger.
2. White Thick Line

- Using acrylic paint or your white nail polish you want to paint a thick white line across your ring finger.
3. Black Stripes

- Now, using a black acrylic paint. You want to paint on thinner stripes of black paint on your nails.
4. Red Line

- Lastly, use a red acrylic paint and paint on the last remaining line to leave on the typical Burberry look.
5. Top Coat

- Apply a layer of top coat to make the nail look last longer. And you are done!! Easy peasy right?
Enjoy your Burberry nails!


Comments