Nail Tutorial: Colourful Abstract
Oh My! My Last blog post was on May. *Shakes head and walks away to a corner* I'm sorry dear blog readers..
But I'm back! And feeling much better. Ready to post loads of blog posts to catch up. To make up to all you lovely blog readers of mine.. Here's a Nail Tutorial.
1. Base Coat.
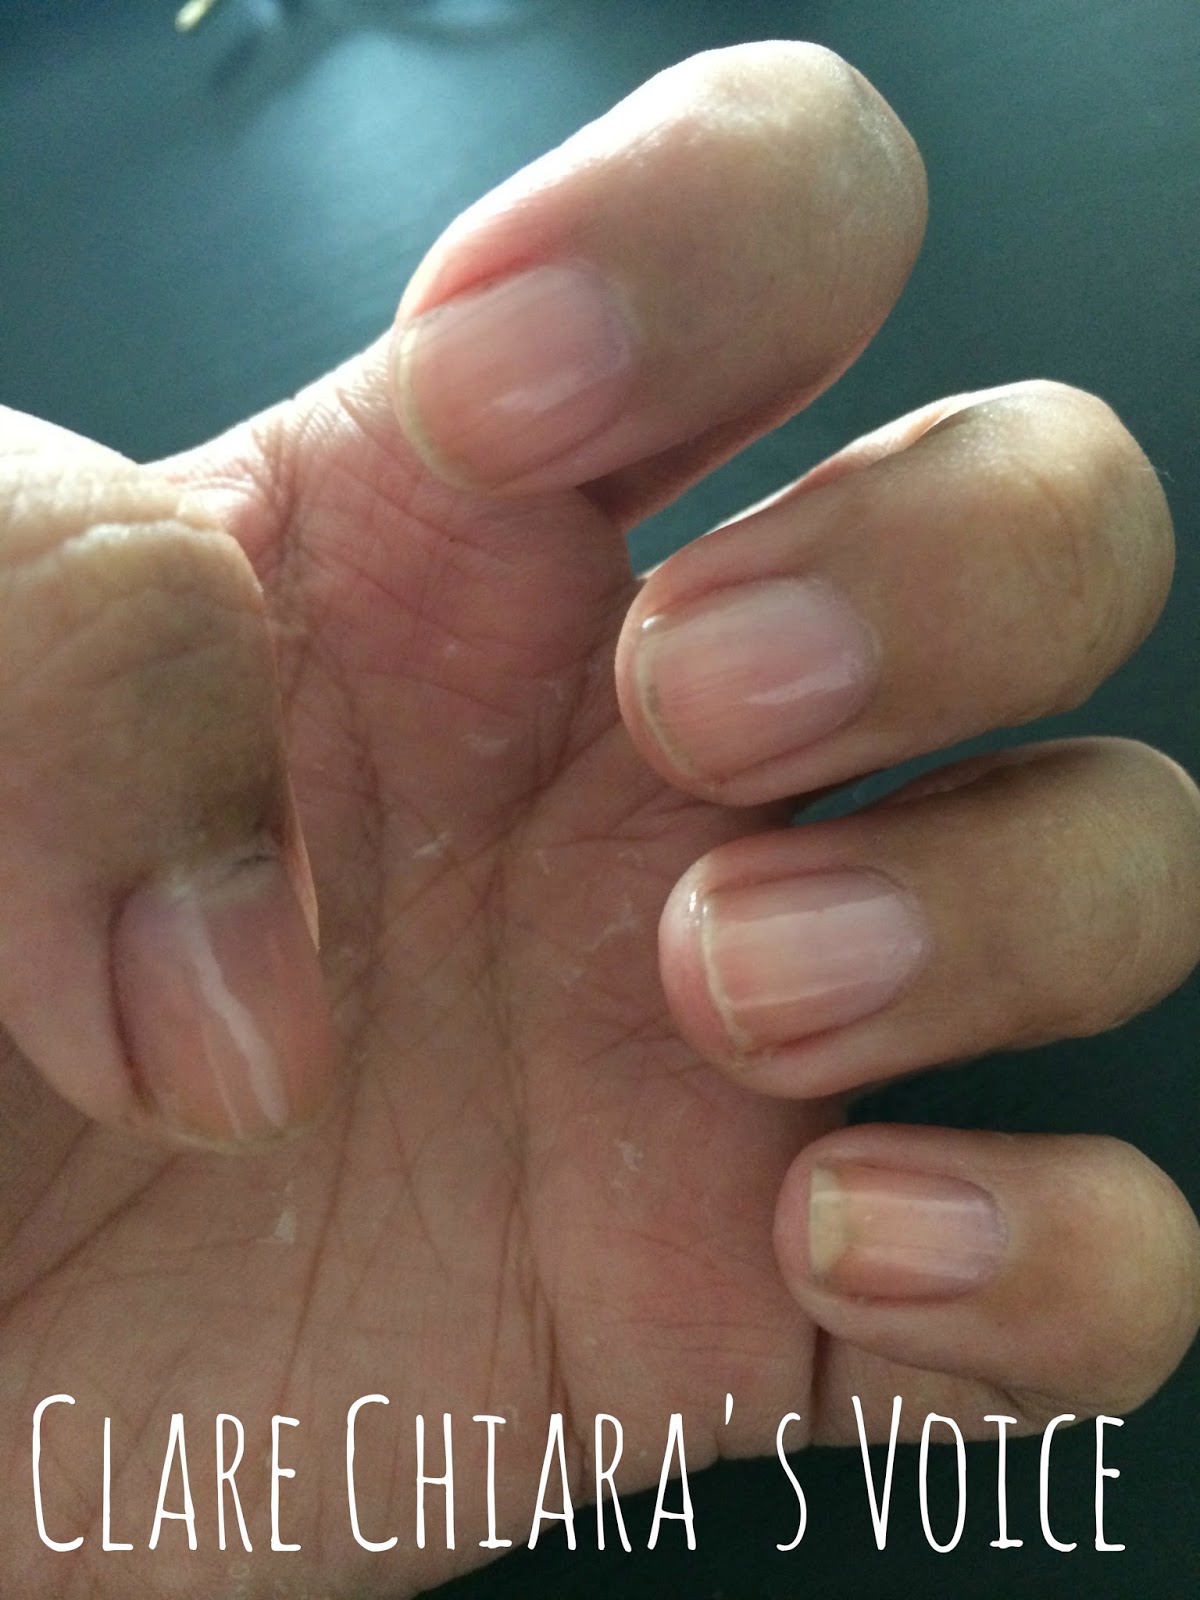
- I actually broke my nails, it would never be soooo short, but I broke 2 of my nails. Call me OCD but I have this thing where all my nails have to be the same similar length. So anyways, apply the base coat. Very very important!

2. Base Color
- I wanted something that would blend in easily, so that the art work would pop out even more.

3. Red Strips
- Using a brush, start painting on strokes.

4. Purple
- Well, this was dark purple.

5. Turqoise
- I wanted colours that pop too.

6. Yellow
- And then some striking yellow.

7. Dots
- I added on some lilac strips too. And using the dotting tool, you wanna dot on some black and white dots.

8. Sparkles!
- I love all things sparkly, so you want to paint on a layer of glitter.

9. Top Coat
- AND YOU ARE DONE!! See how easy it is to make this gorgeous and simple piece of nail art? Now your turn.


Comments