Nail Tutorial: Gold Leaf
I've wanted to do this nail art for the darnedest longest time.. It didn't turn out well, but hey.. At least I managed to get that sorted. =p *Self motivation is the way to go.*
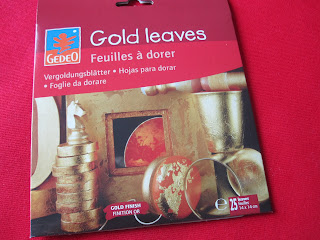
Now you want to go to a craft store to get these 'Gold Leaves' I got mine from Craft Heaven at 1 Utama. It's pretty pricey in Malaysia. It cost RM55 ok!! Screw all you people who have been saying it's so cheap! *ugh* But then again, cannot blame you all too. Cause I'm too itchyfied and wanted to get this nail done too. Hahahah.. FML.
Anyhooz.. So this is what I bought. I kinda regret buying the whole piece, I should have just bought the flakes itself. Would have been waaaaayyy easier to do this nail art. But oh well, you never try you never know right?
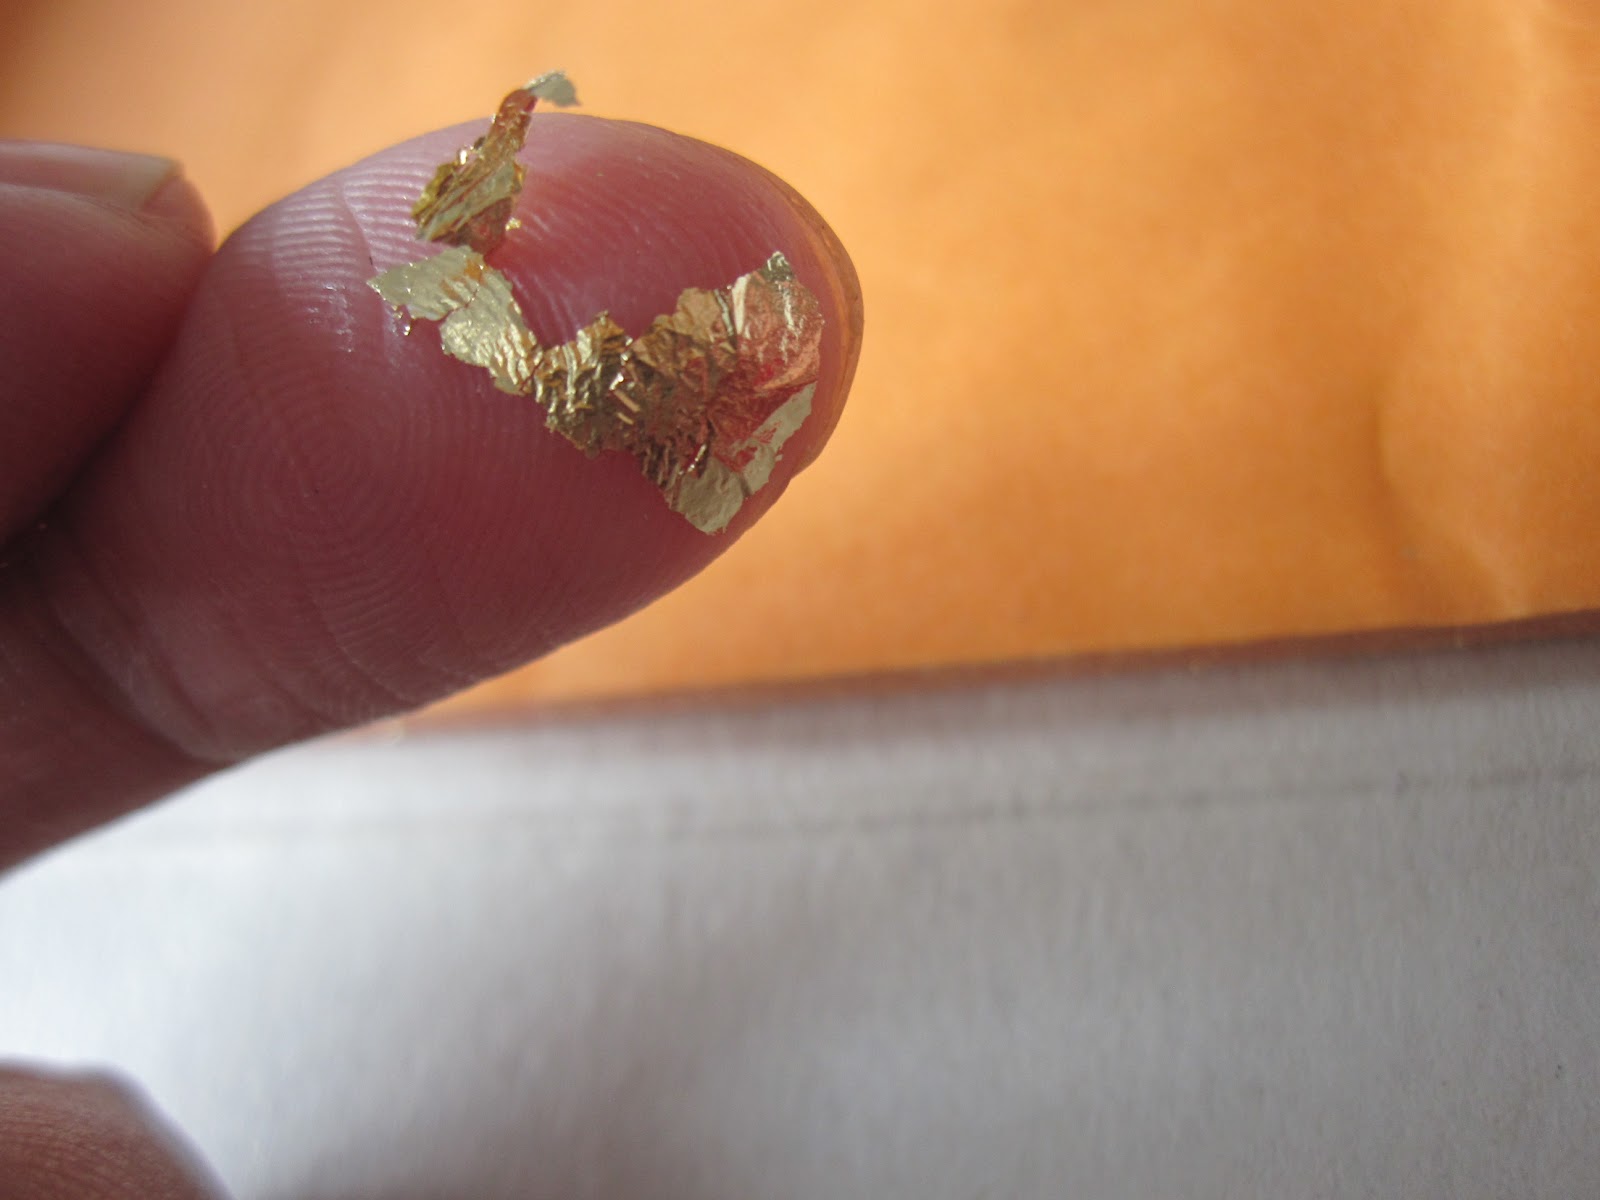
So this is how it looks like. It's so damn bloody fragile lo! So each time my sweaty fingers touched em, it would just tear.. *!@#$%^&*

1. Top Coat
- VERY IMPORTANT OK!!

2. Base Coat
- Choose any color you prefer. I wanted to try something turquoise so I used my Turquoise base color. Just so that the gold would stand out. You would really want to choose a color that makes the gold stand out more ok.
3. Gold Leaf
- Now this was hard for me. And messy, give about 5 minutes for your base color to dry a little. Then add a little bit of top coat and start applying the gold leaf onto your nail. Then later on, using a fan brush you want to brush off the remaining gold leaf. DO NOT THROW THEM AWAY IMMEDIATELY, you can still use them and apply them onto your nail to wherever you want them to remain.

4. Top Coat
- Apply the Top Coat and your done. THAT SIMPLE! (and messy)


Now you want to go to a craft store to get these 'Gold Leaves' I got mine from Craft Heaven at 1 Utama. It's pretty pricey in Malaysia. It cost RM55 ok!! Screw all you people who have been saying it's so cheap! *ugh* But then again, cannot blame you all too. Cause I'm too itchyfied and wanted to get this nail done too. Hahahah.. FML.
Anyhooz.. So this is what I bought. I kinda regret buying the whole piece, I should have just bought the flakes itself. Would have been waaaaayyy easier to do this nail art. But oh well, you never try you never know right?

So this is how it looks like. It's so damn bloody fragile lo! So each time my sweaty fingers touched em, it would just tear.. *!@#$%^&*
1. Top Coat
- VERY IMPORTANT OK!!

2. Base Coat
- Choose any color you prefer. I wanted to try something turquoise so I used my Turquoise base color. Just so that the gold would stand out. You would really want to choose a color that makes the gold stand out more ok.
3. Gold Leaf
- Now this was hard for me. And messy, give about 5 minutes for your base color to dry a little. Then add a little bit of top coat and start applying the gold leaf onto your nail. Then later on, using a fan brush you want to brush off the remaining gold leaf. DO NOT THROW THEM AWAY IMMEDIATELY, you can still use them and apply them onto your nail to wherever you want them to remain.

4. Top Coat
- Apply the Top Coat and your done. THAT SIMPLE! (and messy)


Comments