Nail Tutorial: Christmas Nail Art 2011
Merry Christmas everybody! I know, I know, Christmas is almost over and it's a bit too late for my Christmas Nail Art post. I'm sorry guys, been busy lately.. You know Christmas season.. I spend too much time figuring out what gifts to get everyone. So, it was pretty hard for me to squeeze in some time to get my nails done. Anyways!!!!! Here is my Christmas Nail Design which I had this year. =)
ps: Forgive me for the dark colors and bad lighting. Again the only time I can get my nails done is at night.
1. Base Coat
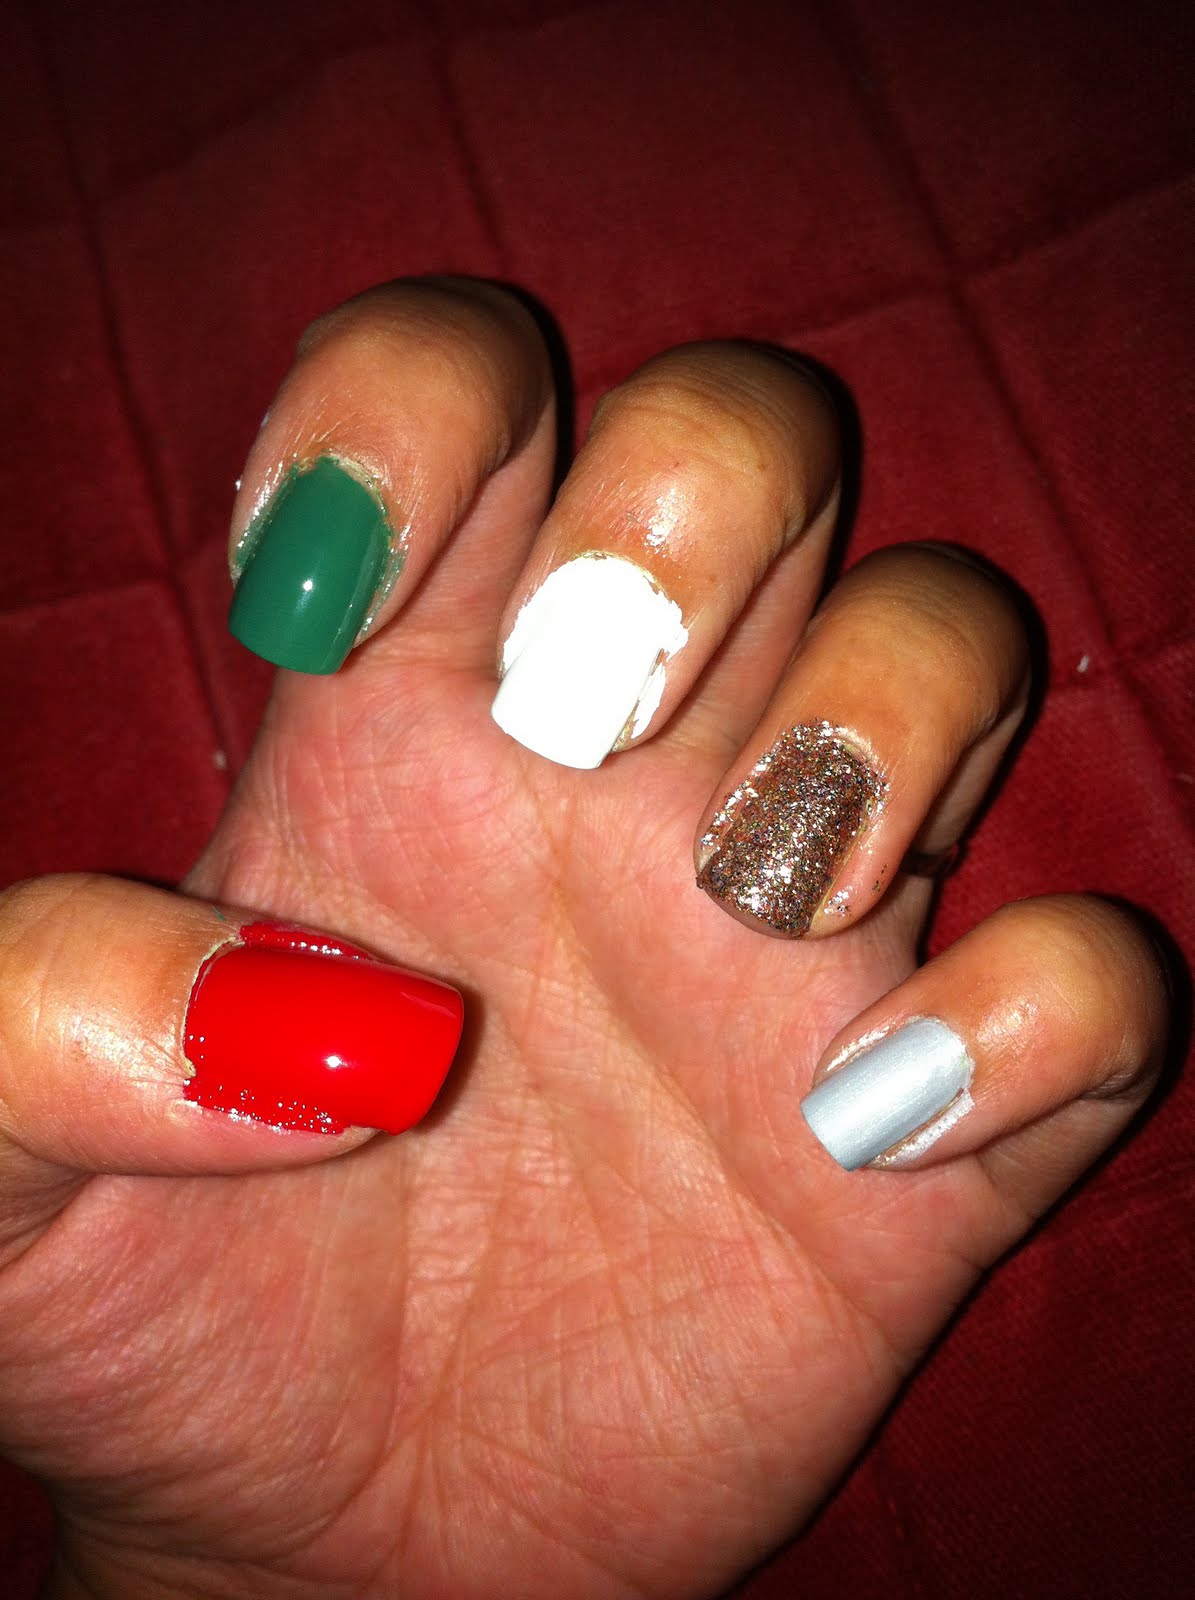
2. Base Colors
- I chose a Red for the thumb, Green on the pointer, White on the Tall Finger, of course a must have Bling on the Ring Finger and lastly the light blue on the baby finger.

3. Let's Begin with the Thumb - Santa
- Using a white acrylic paint or a white colored nail polish you want to paint a T on the nail. Next using a black paint, you want to pain across the white paint. And finally using the gold paint, paint a small square in between the black and white.


4. Tall Finger - Frosty
- Using a black paint, and a dotting tool or a toothpick you want to dot on the eyes and the smile of Frosty and also a hat! And later on paint a long orange nose.


5. Pointer Finger - Snowman
- Using the white paint and dotting tool you want to dot on the snowman body. And later a smaller size dotting tool or tooth pick you want to slowly draw on the hat and the facial features. And finally using a red paint, you want to paint on the scarf on the snowman. And lastly the snow. Using a white paint you want to paint on the snow.

6. Top Coat
- Apply the top Coat and your done!! Simple as that!! =)

Hope you all had a great Christmas. Till then!! xoxo

ps: Forgive me for the dark colors and bad lighting. Again the only time I can get my nails done is at night.
1. Base Coat
2. Base Colors
- I chose a Red for the thumb, Green on the pointer, White on the Tall Finger, of course a must have Bling on the Ring Finger and lastly the light blue on the baby finger.
3. Let's Begin with the Thumb - Santa
- Using a white acrylic paint or a white colored nail polish you want to paint a T on the nail. Next using a black paint, you want to pain across the white paint. And finally using the gold paint, paint a small square in between the black and white.


4. Tall Finger - Frosty
- Using a black paint, and a dotting tool or a toothpick you want to dot on the eyes and the smile of Frosty and also a hat! And later on paint a long orange nose.


5. Pointer Finger - Snowman
- Using the white paint and dotting tool you want to dot on the snowman body. And later a smaller size dotting tool or tooth pick you want to slowly draw on the hat and the facial features. And finally using a red paint, you want to paint on the scarf on the snowman. And lastly the snow. Using a white paint you want to paint on the snow.

6. Top Coat
- Apply the top Coat and your done!! Simple as that!! =)

Hope you all had a great Christmas. Till then!! xoxo


Comments