Nail Tutorial: Pop My Cherry!
One of my best friend asked me to get her nails done for her. And she specifically wanted cherries on them. So this was what i came up with. The only reason there is only a shot of her thumb is because I did her toes.. =)
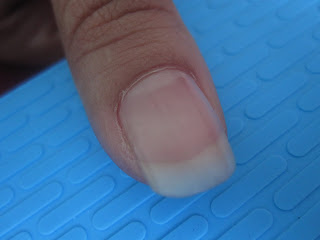


1. Base Coat / Nail Strengthener
2. Base Color
- For the base color I chose something more Skin tone look, you can try using other colors that you like.
3. Polka Dots
- My Bestie is a big fan of retro designs, so I decided to add a bit of 'art' on the base color. Using the dotting tool or toothpick you want to make polka dots on your nail.
4. Cherry Pop!
- Using you dotting tool, draw on 2 red circles. using your toothpick or brush you want to draw on lines. And using the white color, you want to draw on the shades on the side of the cherry.
5. Top Coat
- Now always give it a good 5 minutes to dry your nails then apply the top coat and your done! So simple!!
How cute is this nail art? I want to thank Kimberly my dear bestie for allowing me to get her nails done and be my guinea pig. =)

Comments