Nail Tutorial: A Dot Or Two
I absolutely love my dotting tool. And since these days polka dots seem to be an 'in' design. I decided to get my nails dotted out. =) And here's how to do it. It's really simple!! Try it!
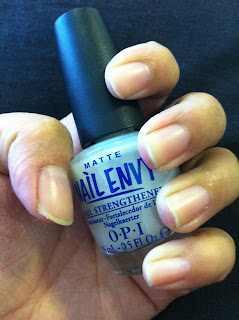


1. Base Coat
- I started using this nail strengthener as the base coat to protect my nails more.
2. Start of with the darker shade of Blue and just paint the tip of our nails.
- You don't have to be neat with this. So long as you do a diagonal shape kind.
3. Lighter Shade of Blue.
- Forgive me for the bad light. Next you want to apply on another shade of blue underneath the darker blue line.
4. Lightest Shade of Blue.
- Now lastly, apply the lightest shade of blue. The last blue color I have.
5. Purple
- To add a dash of color, I decided to add on a slight pinch of purple to the nails.
6. White Dots
- Using the doting tool. Dot on the White dots along the lines.
7. Darker Blue Dot
- Now using the darker blue that you were using firstly, dot on the purple line.
8. Lighter Shade of Blue (But still dark)
- Dot on the lightest shade of blue.
9. Lightest Shade of Blue Dot.
- Dot that on the 2nd darker shade of blue.
10. Purple Dots
- Lastly on the darkest shade of blue dot on the purple.
11. Top Coat
- Apply top coat to let the art work stay longer! And your done! =)
See how much fun dotting tool can be? Then again, if you guys do not have dotting tool. Use a toothpick!! The dots maybe smaller, but hey at least you got the dots right! =)


Comments