Nail Tutorial: Retro Rainbow Polka Dots
Nail Tutorial time! It's been a while since I got my nails done. The busy schedule has been getting on to me. =) Forgive me.


Begin by applying base coat. Recently have changed to OPI's Base Coat and am loving it!
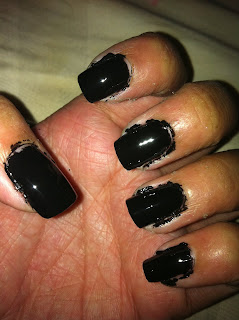
1. Paint your nails all black. (Forgive me for not clearing the side of my nails. Was just too lazy.)
2. Using a dotting tool. Dot on white colored spots all over your black nails. Make sure you keep them in line, and looking neat. You want the effect to look amazing.
3. Starting with the red color. Use the dotting tool to dot on the red onto the white dot that you just did. The white kind of makes the color stand out more.
4. Then the next color. Orange. Dot it on the 2nd row of dots.
5. Yellow's turn. Add on a shade of yellow on the 3rd row.
6. Green dots on the 4th row.
7. Last row apply blue.
Lastly, apply the top coat and your done. It's that simple and interesting! So now, it's time to party and show off your colorful retro looking nail art.
Have fun getting your own nails done. =)


Comments