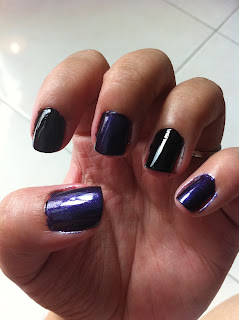
Nail Tutorial: Halloween Week 1.
1. Base Coat
- Base Coat is really important! So don't forget that now!!
2. Black and dark blue.
- I decided to use to dark base colors well, just for the extra spook-ness. =p
3. White Acrylic Paint
- Using a white acrylic paint, or your nail polish. Which ever you are comfortable with. Paint brush or a toothpick you want to draw on spiderwebs and a spooky ghost.
4. Orange Acrylic Paint
- Using the orange acrylic paint, you want to paint on round dots. That's gonna be your spooky pumpkin head.
5. Yellow Acrylic Paint
- Now, using the yellow acrylic paint you want to paint on the eyes of the ghost and moons and stars for your thumb. I used toothpick to do the paintings, cause I have short nails. Again, which ever you are comfortable with.
6. Black Acrylic Paint
- Now, using the black acrylic paint, you want to draw the faces on the pumpkin and a black spider on your baby finger. I wanted to add some extra color to my design so I used a green to paint the vines on the pumpkin.
7. Top Coat
- Let your design dry up for at least 5 minutes or so. Once it's dry, apply your top coat to protect the design. =) AND YOUR DONE!! How simple and fun is this spooky Halloween nail art?!
Stay tuned for more Halloween nail art hopefully every weekend. =) Till then, have a spooky time!!


Comments